A beginners guide to No Dig

Written by Charles Dowding and first published on charlesdowding.co.uk
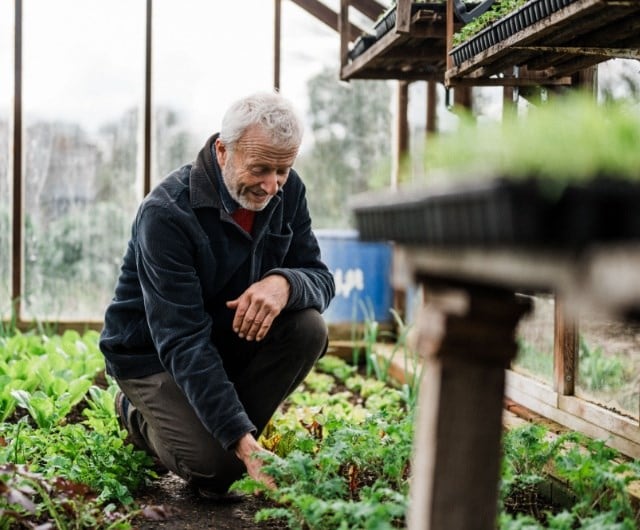
For more than 30 years No Dig gardening pioneer Charles Dowding has advocated the benefits of grow-your-own where the focus is on feeding the soil rather than the plants. We are delighted to be partnering with Charles to bring his wealth of information and experience to you. Freshly-picked, home-grown fruit and vegetables will always taste better than those you buy in the shops - and being able to watch them grow and ripen, ready for harvest is also an incredibly rewarding experience. Read on for advice on getting started with your No-Dig journey.
Getting started: Create a new, no dig bed
What size?
For a beginner, the best option is to start small with just one bed, say 1.2 x 2.4 m / 4 x 8ft. Small areas concentrate your time and resources, and make management easier. Harvests are often just as plentiful as from larger areas that are less intensively cropped.
See this video of my 1.2 x 2.1 m ‘Bed by the Shed’, which shows results of succession plantings all year.
Where?
It can simply be on top of unused grass, with the grass and weeds left in place. The mulch that will be put on top will be sufficient to smother them, with no digging needed for any soil, except a building site! The best place for growing vegetables is away from tall trees and hedges, for two reasons:
1. They suck a lot of moisture out of soil and also make it shady.
2. Overgrown areas with lots of shady leaves often host pests such as slugs.

What if my soil feels too firm?
Often soil feels firm or even hard, especially when dry, and this is fine for plants to grow in. Within the firmness is a tight structure of fine air channels and root passageways, as well as good drainage capacity. Plants root better in dense, firm soil than in soil whose loose structure offers less support to the plants above, and which loses more moisture to evaporation.
What if my soil is clay?
Even in clay, and I write this from experience, you need to trust!
At my French farm in the 1990s and at Lower Farm near Homeacres, my soil was clay, and I found that all vegetables rooted into it, with lovely harvests. And at the National Trust garden of Sissinghurst in Kent, they run a 1 acre/4000 m² no dig market garden on sticky yellow clay. It is way more successful than when they were trying to cultivate the soil.
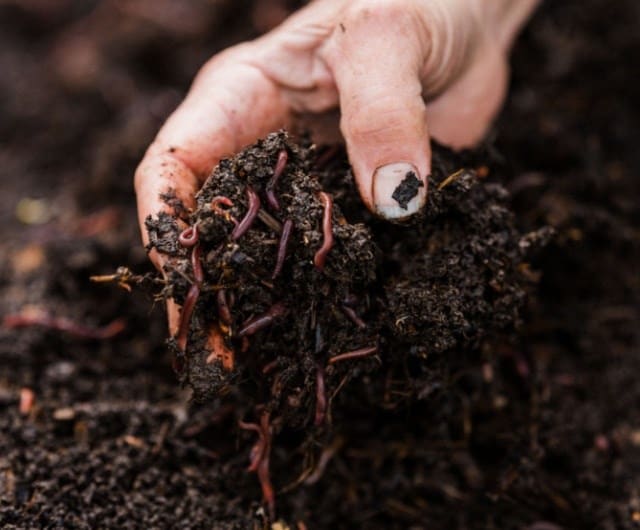
Clay soil is great for no dig: worms and other soil life improve its structure and there is good nutrient and moisture retention.
What if my soil is silty or stony?
At Homeacres my soil is dense silt and everything roots into that too. In my first garden, 35 years ago, the soil was Cotswold brash, very stony, and no dig was successful there as well. Undisturbed soil develops and maintains a honeycomb structure of small air passages, especially when it is fed annually with an inch or so of compost on top.
What if my ground is uneven?
Uneven ground needs levelling. Either use a sharp spade to scrape off high bits, and put their soil into low bits. This is not ideal for the soil, but far better for your gardening in every subsequent year. Or you could buy some soil to fill the hollows. Filling them with compost is possible too but some unevenness will remain, because of how compost is eaten by soil organisms.
What if my climate is different to that in the UK?
No dig works in any climate. People all over the world and in varying climates have experienced great success with no dig – see my ‘International‘ page
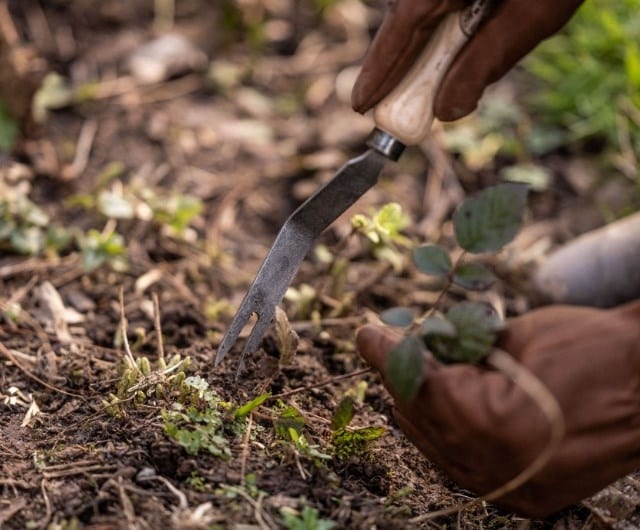
How do I deal with weeds?
There are various options for dealing with weeds, depending on how many and which weeds you have, especially perennials, and how much organic matter you can source. All options involve laying mulch (a light-excluding cover, can be compost) to clear the soil of weeds through smothering/light-deprivation.
For more information on dealing with weeds, see this page, and this YouTube playlist. Also modules from my online course ‘No Dig Gardening’.
Should my bed have wooden sides?
It’s often assumed that growing in beds means you need permanent sides, but this is untrue. It’s quicker and cheaper to create open-sided beds, and they offer fewer hiding places for slugs, ants and woodlice. However, you must have weed-free paths for this to work, and absolutely no grass, which otherwise invades beds with no sides.
Temporary sides (such as old fence posts) help to keep compost-filled beds in shape for the first few months.
This module of my ‘No Dig Gardening’ online course gives detailed information on creating beds and the importance of paths.
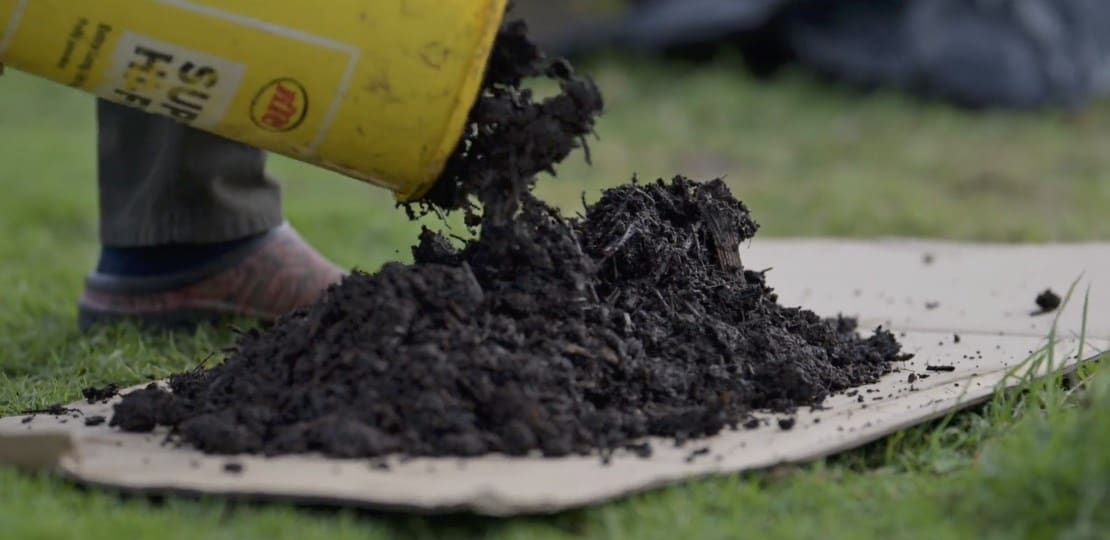
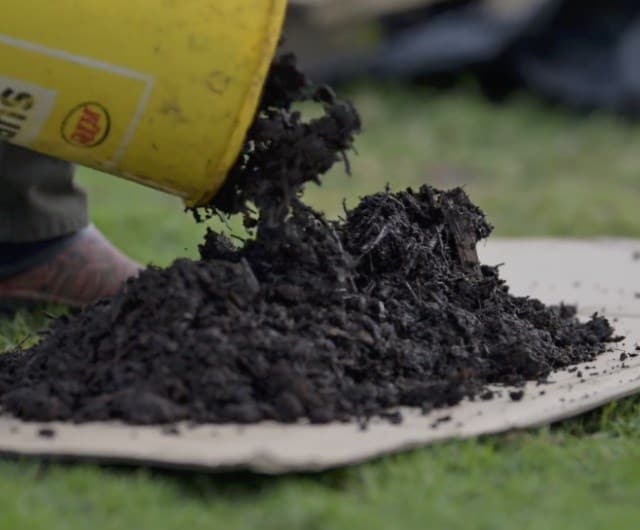
How much compost will I need for making a new bed, and does it need to be a particular type?
The amount of compost needed will depend on the size of the bed(s) – see this link for a depth calculator of compost – and also on the quantity/type of weeds.
If there are many weeds and you want to grow vegetables or flowers immediately, you will need 10-15 cm/4-6 in compost (once trodden down). If the ground is not weedy, you can start with as little as 5 cm/2 in compost.
The compost can have some lumps in and you do not need to sieve it. It can be any of animal manure that has been stacked for six months or more, your own compost, municipal or mushroom compost, leaf mould etc. It For more information on compost, see this page, and this YouTube playlist.
When is a good time to start?
You can start at any time! There’s always something you can do whatever the weather and throughout the seasons. The sooner you start learning and taking steps the sooner you'll see results.
How do I make a new bed(s)?
This partly depends on how many weeds you have but the process is straightforward. Simply lay down a light-excluding mulch (eg cardboard) and then cover with your desired or available amount of compost. If you have many vigorous perennial weeds you may need to lay compost and then a polythene/membrane cover on top of that – see ‘Dealing with Weeds’.
You may or may not want to use temporary wooden sides to hold the compost in place. You do need to mulch any pathways around and between the new bed(s). The most common and easiest much for this is cardboard, held down with either a very thin layer of woody material in small pieces, or compost.
That’s it!
To watch me create a new bed using cardboard and compost, see this video – ‘Start out no dig’.
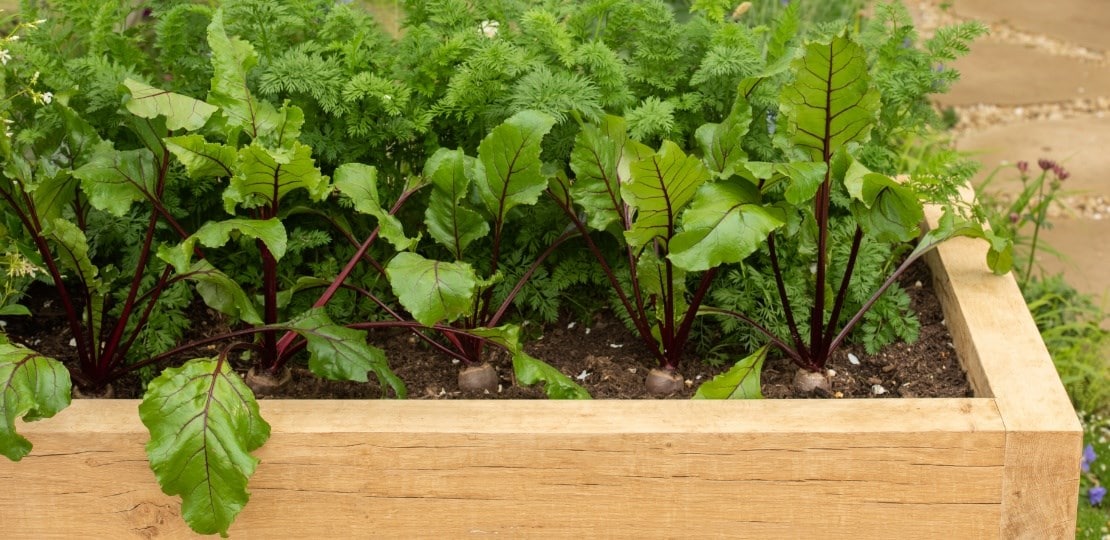
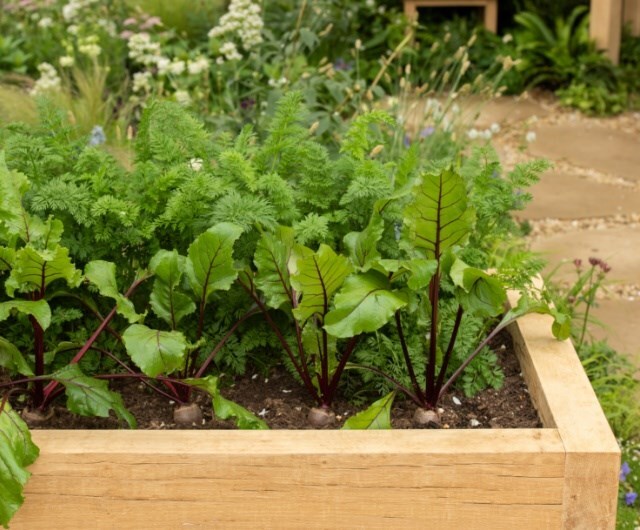
2. Start planting
With no dig, you can plant straight into compost, so a new bed is ready for planting as soon as it has been made. For this reason, I advise having some plants ready in order to maximise growing time.
This applies even if you have laid down cardboard under the compost – your new plantings can grow in the compost while the weeds die under the cardboard. Then the cardboard softens within three months and plants can root into the soil.
I raise the large majority of my plants from seed, in a propagating space under cover, and then transplant these rooted plants into the ground. Although it requires less of your time to sow directly into the soil, growth starts later. Then it takes longer and there is often more pest damage, resulting in later harvests and empty spaces.
I therefore recommend that you learn some basics about propagation, so you can raise healthy seedlings at home. This extends the growing season and keeps your bed(s) full.
There is a wealth of information on sowing and propagating on my YouTube channel – see this playlist, and also in ‘Updates and Advice’, found on the homepage. My Sowing Timeline shows my recommendations for sowing times throughout the year.
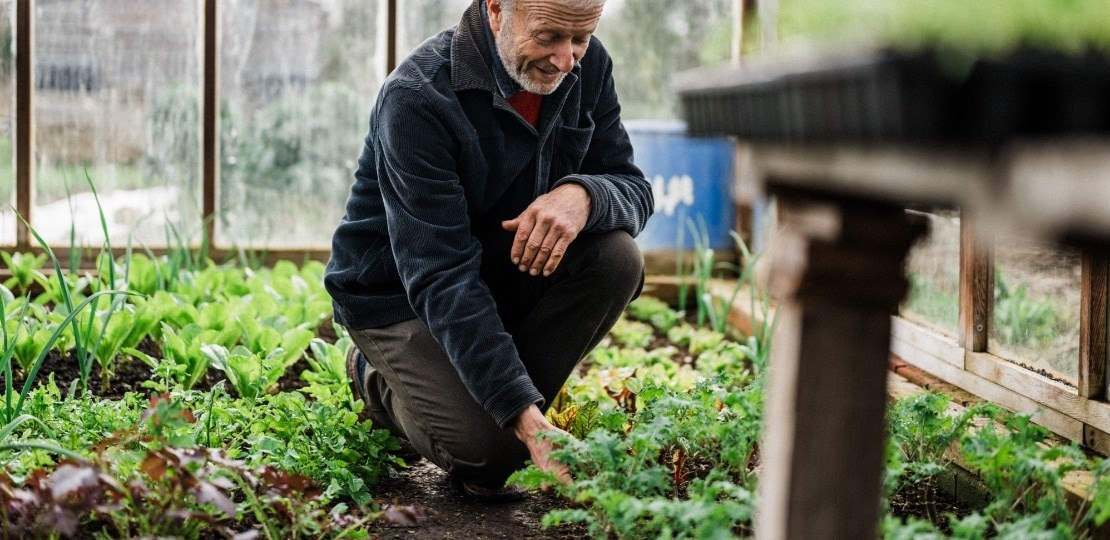
3. Develop new skills
Once you have created a bed/beds and sown some seeds, it’s the time to enjoy watching your plants grow!
I would now recommend learning the basic skills of weeding, watering and pest protection before moving on to skills such as harvesting methods and succession planting. My ‘Skills for Growing’ book and online course cover all these, and some exciting new possibilities too.
My YouTube channel also has videos covering these topics, and I have created a playlist with a range of videos chosen specifically to help those who are new to no dig – ‘No Dig for Beginners‘.
And lastly, some advice on tools and equipment
When creating a new no dig bed, a wheelbarrow for transporting compost is useful, as is as a shovel for moving the compost and a rake for levelling. Plus cardboard and compost (and polythene/membrane if your weeds require that), and maybe temporary wooden sides. See this ‘Tools and Techniques‘ video for further information.
For propagation you will need potting compost (also called multipurpose), a module tray and some seeds (see the ‘Seeds and Varieties’ page for my recommendations).
The compost/materials for propagation that you can buy are of highly variable quality. I wish you success in finding a good one because it can be demoralising when you are sold a product which is not fit for purpose. Please don't blame yourself if this happens but send a message to the manufacturer and then try a different compost. Often the problem is that the compost is still maturing/ripening, a process which takes nutrients from your plants. After 2–3 months it can start to grow decent plants, so it’s a good idea to buy compost in advance!
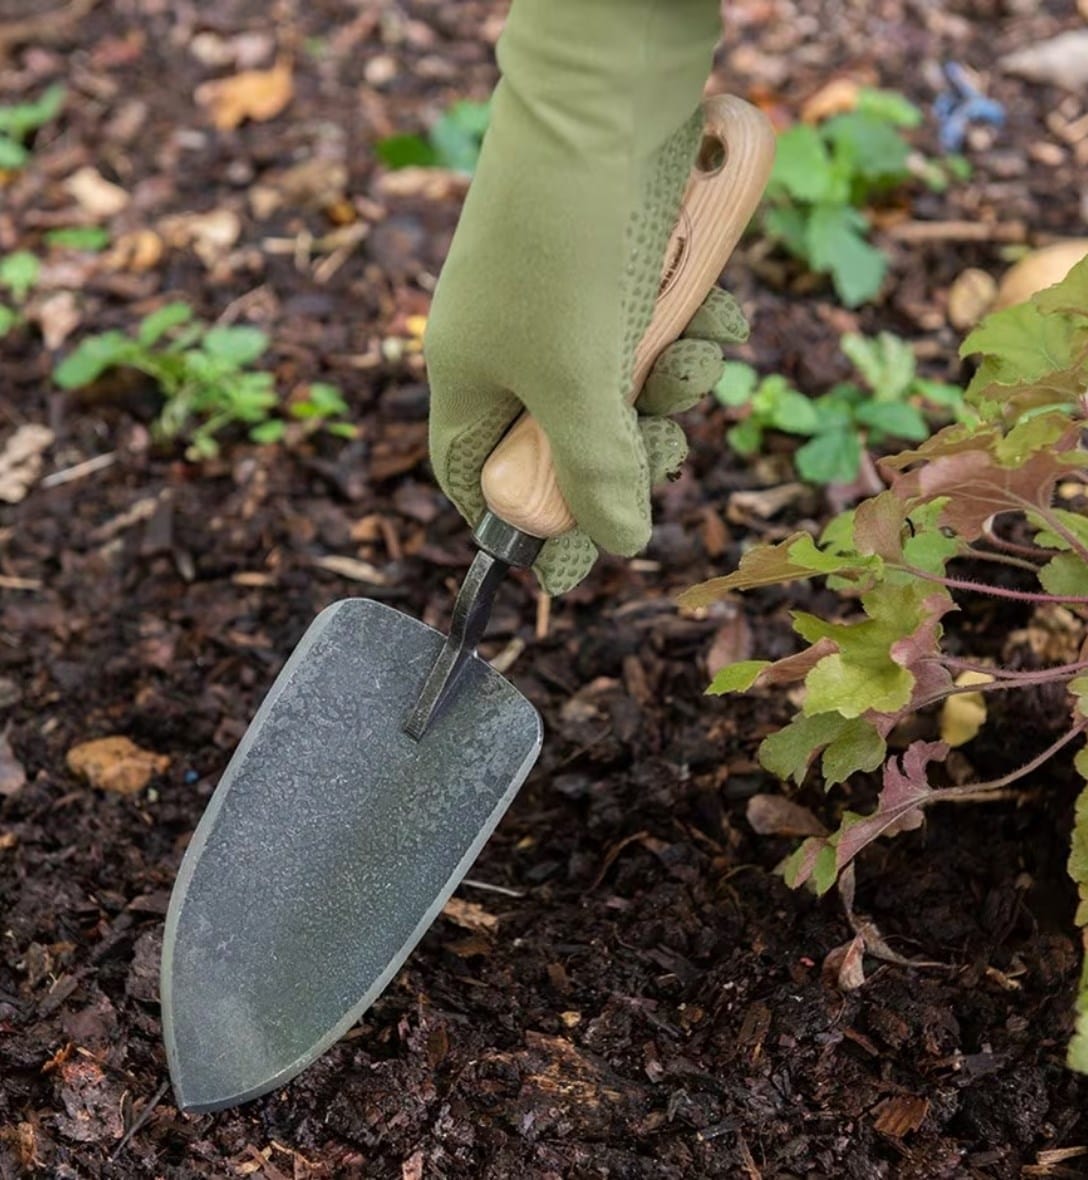
For transplanting, a dibber is really useful but is not essential. Likewise a trowel, for transplanting large plants, planting seed potatoes and removing roots of some perennial weeds.
For watering, a watering can and/or hose is needed. Look for a fine rose which is good for watering seedlings, and a rose with larger holes for watering your beds.
For weather and pest protection, I recommend investing in some fleece/mesh covers.