Lessons in gardening

Lesson 3. Laying out a border

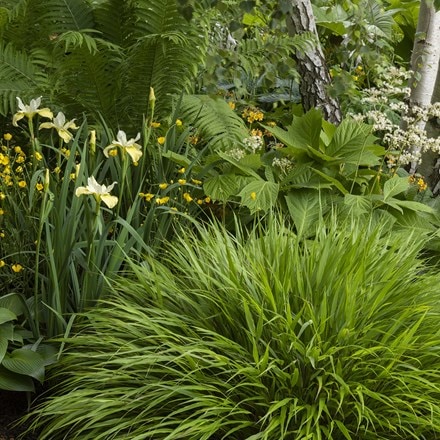
Offering a huge range of possibilities, the shape, size, placement and content of your garden borders will play a key role in a great design. No matter what your garden style, we'll guide you through a few basic principles, which will help you develop a balanced layout of lush and lovely borders that will provide something of interest throughout the year.

Your task this week is to further develop your garden plan, add in borders and start to compile a plant list that both works for your garden environment, but will also deliver on the garden style you hope to achieve.

when to plant spring bulbs

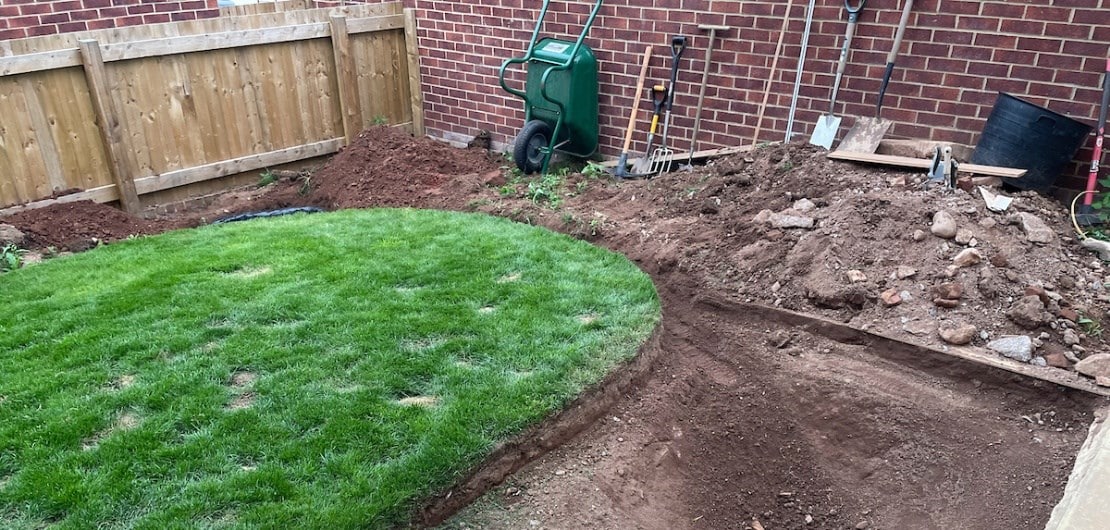
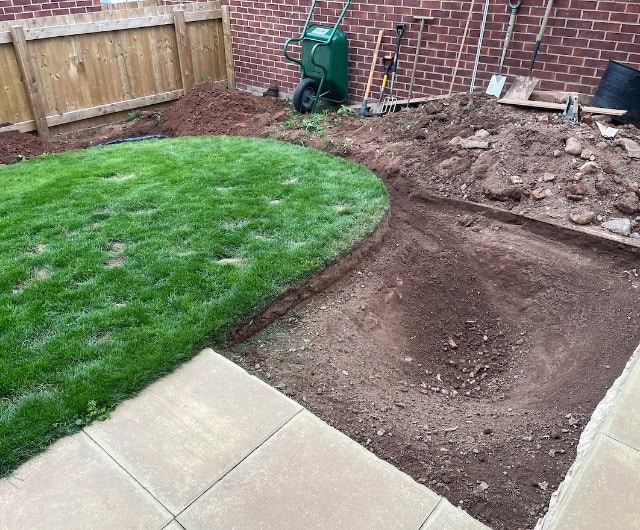
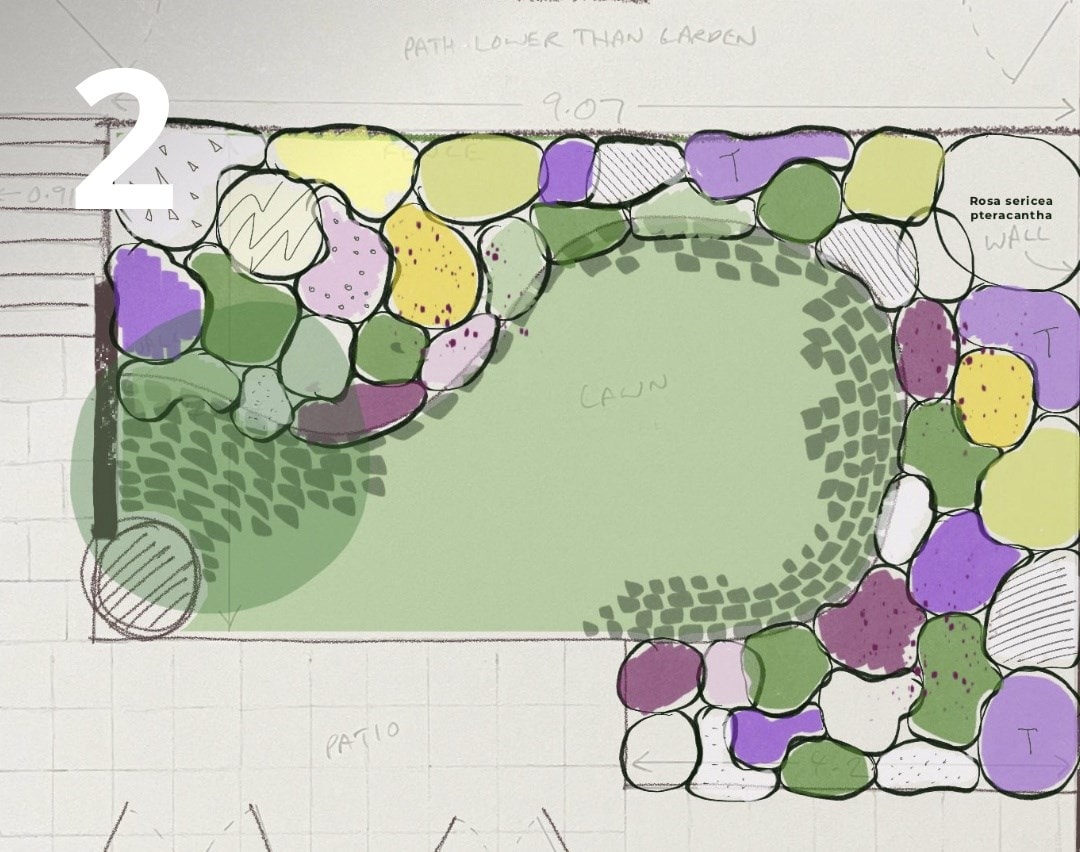
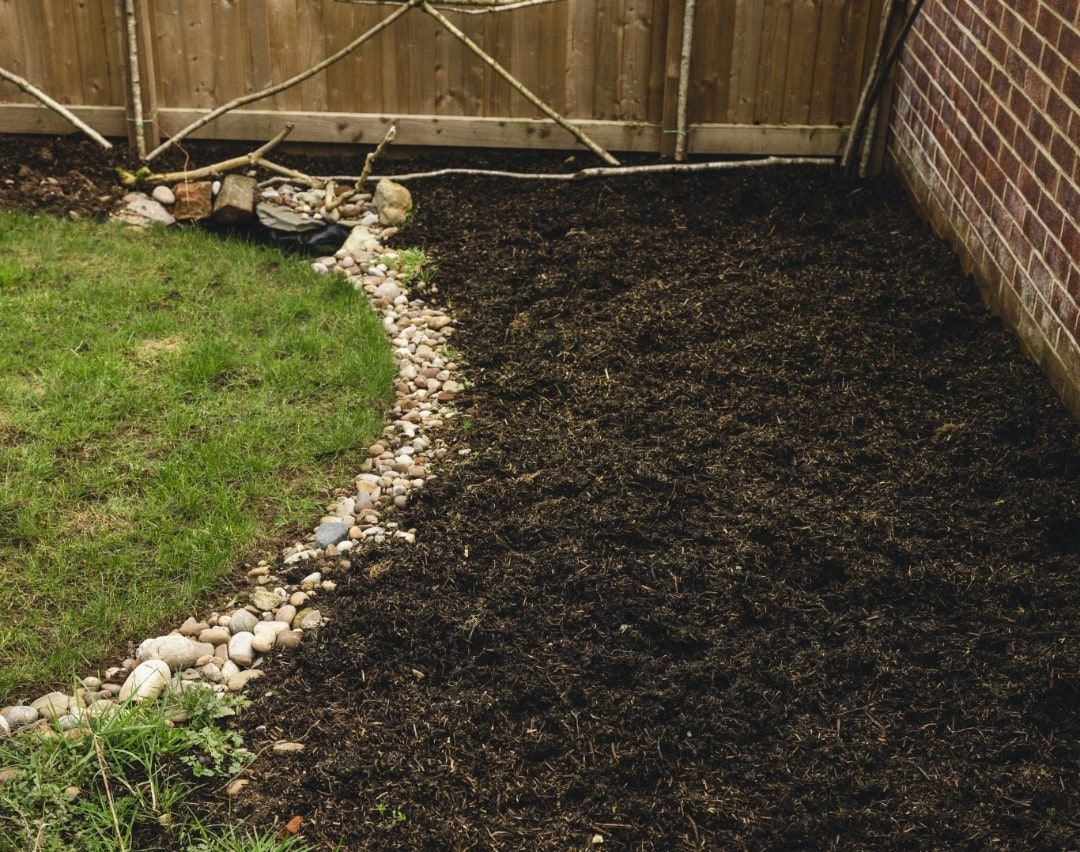
Setting out the site

In week one you sketched out your existing garden layout, and for many, the temptation is to follow that footprint and line the edges of the garden with a border or two, while leaving the lawn or patio in the middle. This design works for some, but you may want to think a bit more creatively, and consider softening your lines - or widening sections of your borders to fragment straight lines, while giving more room to plant.

Garden designer tips for borders that look good year round

1

If you have a long narrow garden, you can break up the space and make it feel wider by introducing horizontal or diagonal interest. This could be done by creating new borders that come out into the centre of your space, or by adding a deep curve to an existing one.

2

If however your garden is short and wide, the opposite is the case, so try adding a focal point (an arch, obelisk or statue) that will draw the eye towards the back of the garden and create a feeling of depth. Also, consider using borders to break it up into different zones - perhaps creating a long lawn or patio that leads away from the house, with more secluded spaces for seating/eating or working.

3

If, like many, your shed is at the bottom of the garden, the Roman route would be a straight path from your back door to your shed. Adding in some curved lines however will play with the eye line, while giving you the opportunity to form softer border edges - and bring more planting into your space. After all, adding a couple of extra seconds onto your walk to the shed is no bad thing when you have a beautiful garden to enjoy!

4

There's also a lot to be said for not revealing everything all at once. Making the eye work to take in the garden gives a sense of discovery and space that can be achieved even in the smallest of urban spaces.

Now decide on the planting

Once you have the borders marked out, then you can start deciding what to fill them with - and for most of us, this is where the fun really begins. Keeping in mind what you've learnt about your garden's soil type/aspect etc (week 1) and the overall style you'd like to achieve (week 2), use our plant search to create a shortlist of your favourite (suitable) plants.

When planning where to place them, keep in mind their eventual height and spread, making sure there's enough space around them - and to avoid less vigorous plants getting swamped, you'll also need to take their growth rate into consideration. Traditionally taller plants are placed near the back with smaller plants at the front, and while this rule can still apply, more contemporary planting schemes often blend plants with different heights together, creating movement, depth and intrigue throughout the border.

Crocus tip

Map out the proposed border edges with a garden hose or some coloured string, then walk around the garden to see how it feels. Also, go inside and have a look at it from lots of different angles - if it needs tweaking then do it before you start to dig.

Small garden doesn't mean small plants

If your garden or patio is on the small side, it can be tempting to scale everything down, peppering it with a selection of pint-sized pots and ornaments. This however can actually make the space feel cluttered, so opt instead for just a few statement pieces. Just two or three big planters filled with some taller evergreen shrubs (and perhaps coupled with a wall-mounted water feature), will create a simple yet stylish arrangement that epitomises the look and feel of a tranquil oasis in a larger garden.

What size should a border be?

A common mistake we see when planning a new border is to make it too narrow, so to give enough space to vary the plant layout, aim for a minimum depth of 50cm. If you are planning to add some raised beds, you also need to make sure there is sufficient height for the plant's roots to spread out and get established. If these are to be placed on top of a hard surface, then anything less than 30cm in height would be fine for annuals and smaller perennials, but they probably won't be deep enough for larger-sized shrubs.

Crocus tip: The art of repetition

Garden designers achieve harmony and rhythm in their planting schemes by selecting 1 or 2 core plants (ideally ones that flower at different times of the year), and weaving these through every border. Ornamental grasses are good for this because they'll also add movement, but you could also use any of your favourite perennials, planting them randomly in naturalised drifts, or oddly numbered clusters.

Structure, interest & texture

image
Garden structure

To create a sense of permanence and give the eye somewhere to rest, make sure your garden contains some structural elements. You can use ornaments like obelisks, arches or even statement pots, but plants with a striking silhouette (trees, topiary, upright grasses or low, mounding shrubs) will also work well.

image
Seasonal interest

While gardens will nearly always look their best in spring and summer, a well-designed planting scheme should offer interest and beauty throughout the year. Make sure there are some evergreen shrubs or brightly coloured bare stems for winter, some early-flowering bulbs or perennials for spring, and some ornamental grasses or fiery-coloured foliage for autumn. That way, you'll have a continuously changing display to look forward to as the seasons progress.

image
Plant texture

Using plants with a variety of different leaf shapes and textures is a great way to add visual interest and complexity to your border - which is why hostas and ferns work so well together. Flowers also can be used to contrast and compliment, so try placing the upright flower spikes of an Agastache next to the flattened plate-like heads of an Echinacea and they'll instantly catch the eye. Whether it's soft and furry, tall and spiky or rough and gnarled, texture delights the senses - and therefore is an essential ingredient in border design.

Glossary

Evergreen : Plants that retain their green leaves or needles throughout the year, rather than shedding them seasonally.

Ornamental grass : Grown for its decorative value, often characterized by unique texture, attractive foliage, and graceful movement in the wind.

Perennial plants : These will die back to below ground level each year in autumn, then fresh new growth appears again in spring.

Annual plant : These typically only lasts for one year shrub: shrubs are the backbone of the garden. These are the plants that will add structure and interest throughout the year. Even if they lose all their leaves in winter, they will reshoot again in the spring.

Plants for structure and texture

Share your progress

This week your task is to further develop your garden plan, add in borders and start to compile a plant list that both works for your garden environment, but will also deliver on the garden style you hope to achieve. We encourage you to share your progress in the Lessons in Gardening group, on our FREE app Iris. it could be a selection of plants that you plan to have in your garden, or it could be your the sketch of your garden layout. If you have a question why not ask the group what they would do? Our Plant Doctors are also on hand every day to impart their gardening advice and to answer your questions.

Share progress

Copyright © Crocus.co.uk Ltd 2024. All rights reserved.