Lessons in gardening

Lesson 4. Gardening in small spaces

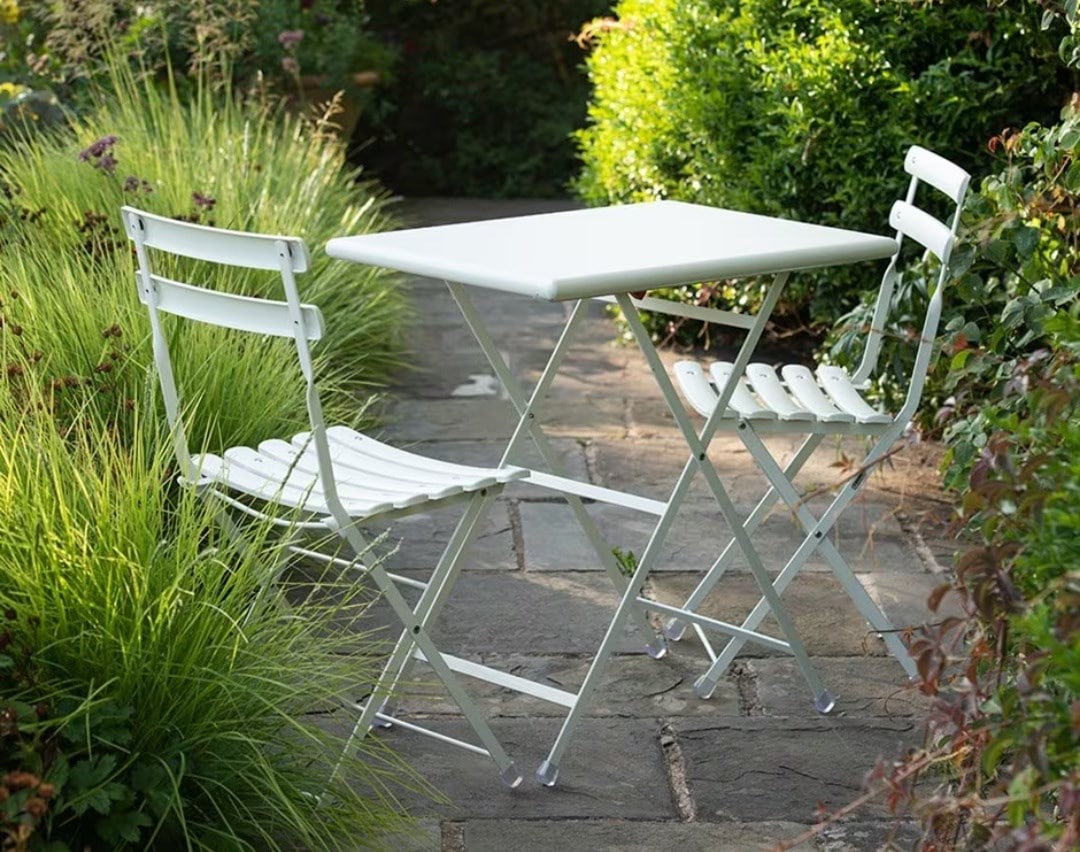
If you are dreaming of a beautiful garden but you've only got a pocket-sized outdoor space, then fear not, because you can still enjoy colour and interest throughout the year - without making it feel cramped or overcrowded. There are lots of creative and efficient ways to put together a stunning smaller garden, and this week we'll be looking at these.

As we discussed in week 1, the first step is to set out your site before moving onto the planting, so revisit your garden sketch and mood board, and think about the styles that you've been inspired by. In a larger garden it's often possible to have several different areas within a garden, but in a small space, it's even more important to be focussed on what the primary use for the space will be. If you need a recap, then revisit the garden 'room', the sanctuary garden and the rewilding garden from week 2.

This week you will further develop your garden plan to identify focal points, and points of interest in your garden design, how and where you might incorporate container planting, and how to layer your plant selection to deliver height and interest.

when to plant spring bulbs

Step 1. Designing a small space

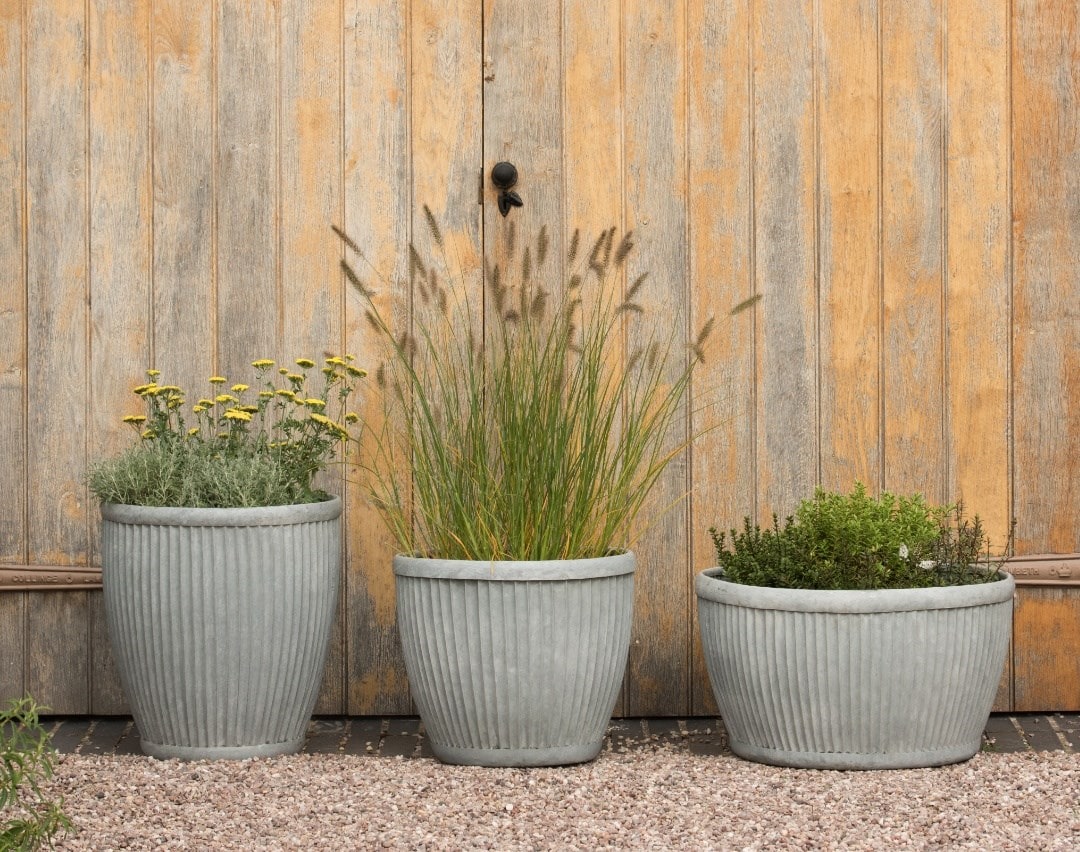
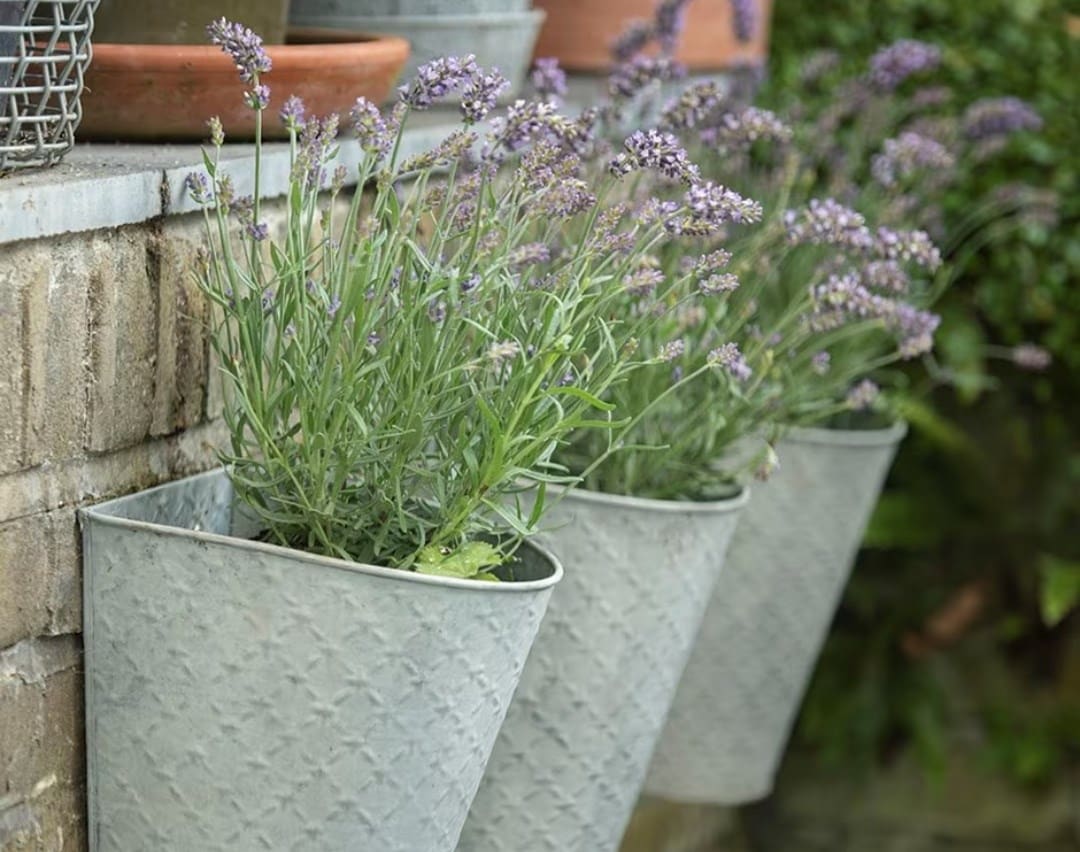
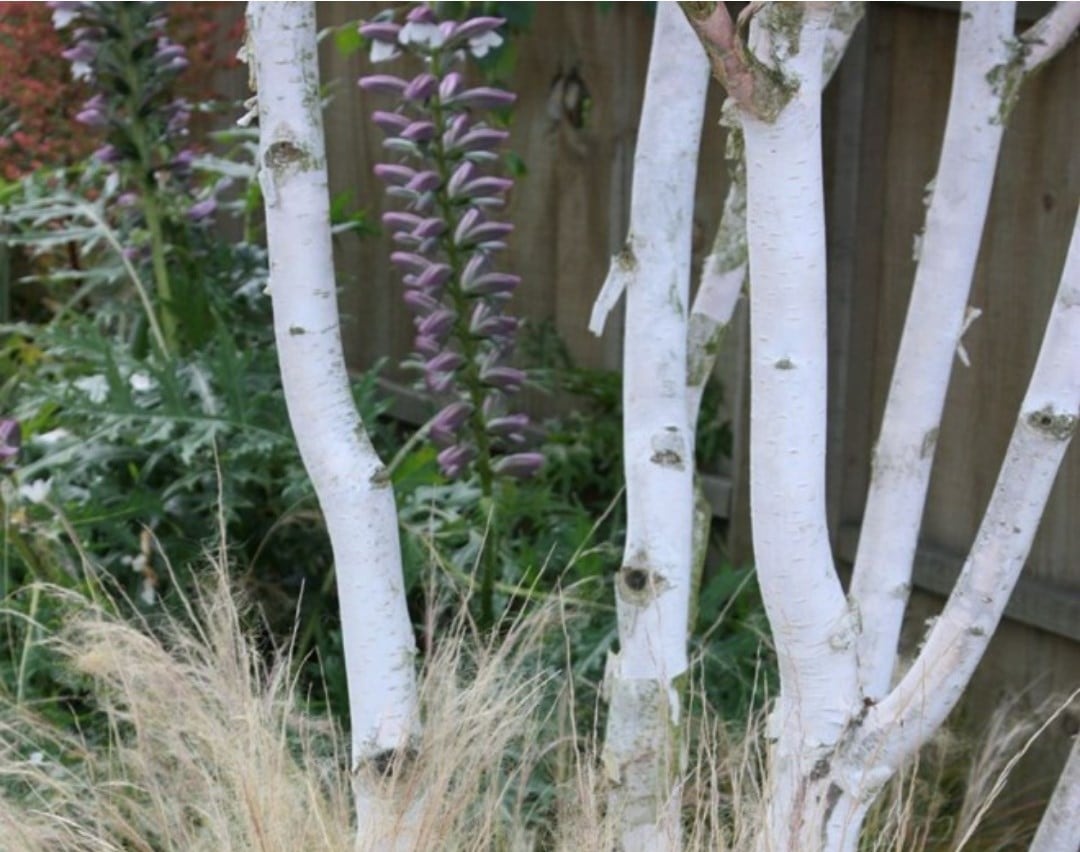
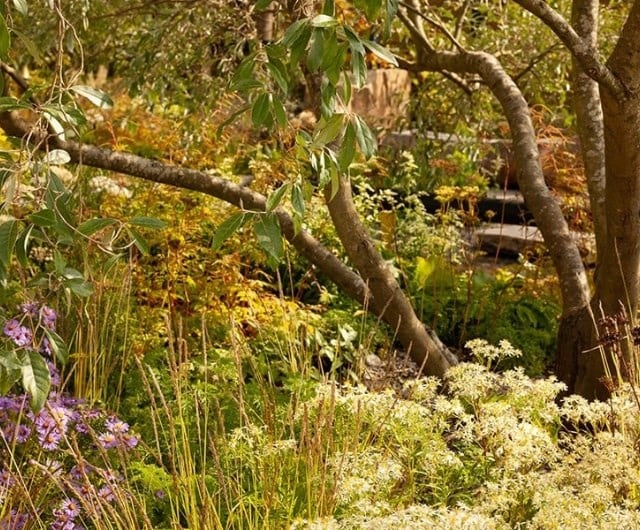
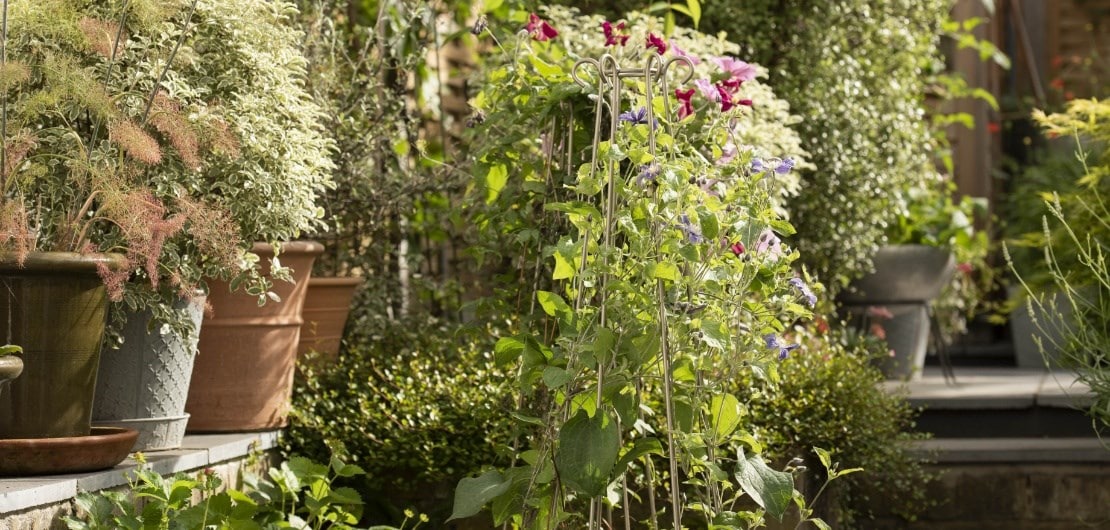
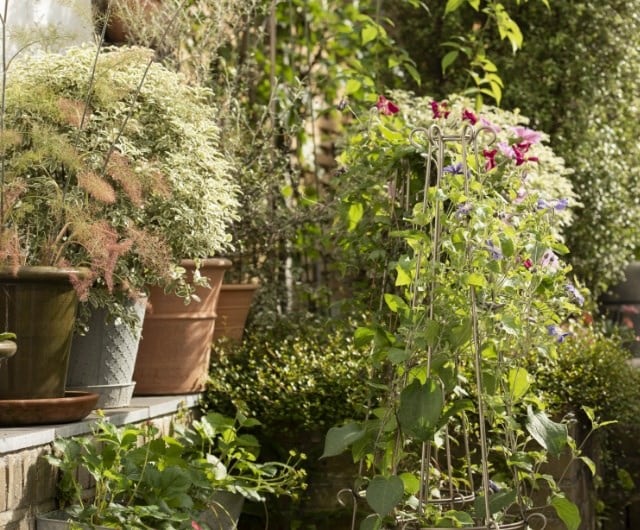
Many of the design principles that we explored last week will still apply to compact spaces - or even when planting up larger pots. In smaller gardens however, you'll often need the space to work even harder, making sure that you really make the most of what you have.

Review your garden sketch

With limited opportunities for planting, it's important to get the layout right, and the first thing you need to focus on is getting the placement of your seating (or dining) area right. Have another look at your garden sketch, and while taking the orientation of the sun into consideration, decide on the best spot for it. If your space is tiny, you may want to opt for folding furniture, which can be stored away when not in use, but whatever you choose, remember that it's going to be an important focal point, so invest in something you love. Then, once you have this area marked out, you can start building your planting around it.

Style your outside space

If you have space for borders, avoid making them too small. Aim for a minimum depth of 50cm so that plants have space to grow - and you can vary the plant positioning (rather than planting in straight lines). If you are planning to add some raised beds, you also need to make sure there is sufficient height for the plant's roots to spread out and get established. If these are to sit on top of a hard surface, then anything less than 30cm in height would be fine for annuals and smaller perennials, but they probably won't be deep enough for larger-sized shrubs. Also, keep in mind that one substantial border will always be more impactful than a thin border running around the edge of your space.

No soil, no problem
No soil, no problem

If you don't have a lawn or borders, then some stylish pots and containers are essential. For a slick, formal or contemporary look, buy multiples of the same large pot and line them up along a boundary before filling with themed planting. Otherwise use differently sized pots to create aesthetically pleasing clusters that will help soften corners or create privacy where you need it. When pot-scaping (arranging your garden pots), the rule of 3 always works well. Form a group using 1 large, 1 medium and 1 small pot, each with a common feature (ie. colour, material or even planting style), and together they'll forge a cohesive look that delivers visual impact in a space-efficient way. Otherwise, fill just one big pot with a small tree or large architectural shrub, and you'll instantly add height and interest while also creating a gorgeous focal point.

Go vertical
Go vertical

If floor space is limited, vertical planting is a fantastic way to maximise the space. Attach some trellis or sturdy, horizontal wires to a fence, shed or unappealing garage wall and you'll have the perfect growing support for a climber such as Clematis montana. In no time at all, this fast-grower will have softened your boundary line, blurring the borders and making your space feel bigger than it really is.

If you're inspired by 'living walls', it's relatively easy to green-up a wall by attaching some wall pots or hanging baskets. Or, if you want to embrace the trend fully, a living wall pack is easy to install, and it will look great when planted up. In shady gardens, fill the pockets with ferns, small hostas and trailing ivy, while aromatic herbs and small Mediterranean plants will do really well if you get loads of sun.

Crocus tip

A well-placed mirror will instantly trick the eye, amplifying the feeling of space. It's also an excellent way to bounce some light back into shadier spaces.

Step 2: Planting a small space

As we mentioned last week, filling small spaces with lots of pared down pots and plants will only make it feel cluttered. A much more dynamic approach would be to have fewer, larger pots, and use plants that either create a strong visual impact, or offer a long season of interest. Keep in mind that wherever you plant, it will really need to work hard to justify its place.

Plant a variety
Plant a variety

It's best to avoid using a mishmash of dense planting in smaller spaces, but don't be afraid to add in a few larger plants. Multi-stemmed shrubs or trees are ideal, as while they add height and impact, they'll also allow the eye to travel through, catching glimpses of what lies beyond. Plants with light, diaphanous foliage, such as grasses and bamboos, also make good eye-candy because they add movement without bulk, while potfulls of seasonal bedding will always stand out well against a wall or leafy backdrop. Finally, for a serene, formal look, evergreen plants with clearly defined silhouettes (think topiary) can add real drama and impact if they're planted in repetition throughout the space.

The recipe for great potted displays

Whether you're filling your pots with lush foliage plants, colourful seasonal bedding, or taking a mix and match approach, you'll get great results if you follow the 'thriller, filler, spiller' recipe. Use taller, strong-statement plants to add structure, body or colour (your thrillers), surround it with medium-sized, mounding plants that have a softer texture (your fillers) and finally add some trailing plants to cascade over the edges (your spillers).

Layering your planting

Vary the height of your planting through your borders to create the illusion of depth and use plants with different leaf shapes and sizes to create textural interest. For example, a Japanese maple with an open canopy will draw the eye upwards, while casting lightly dappled shade during the hottest part of the day. This could be underplanted with an shortlist of medium-sized shrubs and perennials, with a few taller or more upright plants scattered amongst them to add vertical interest. Finally, lower-growing planting and groundcovers can fill in any bare patches - while also helping to suppress weeds.

Crocus tip

Our product designer Julia has come up with a fantastic solution for growing tomatoes in her small, sunny courtyard garden. She tells us how she does it;

"I have a small garden so can't afford a separate space to 'grow my own' therefore I try to mingle a few edible plants into my small beds and large pots. I have found growing a tomato plant up one of our obelisks works really well. It looks great too. The tip of the plant passes through the ring at the top of all our Crocus collection obelisks which provides the final support that the plant needs before pinching off the tip and allowing the fruit to fill out and ripen.

There's actually quite a lot of scope for growing edibles in a small garden, so if that's something you'd like to try, herbs, radishes, kale, potatoes and strawberries are a great place to start. Also, look out for the new, compact varieties of fruit, which do really well in pots."

Gardening in small spaces

with plants and styling to create your outdoor room

Share your progress

This week you will further develop your garden plan to identify focal points, and points of interest in your garden design, how and where you might incorporate container planting, and how to layer your plant selection to deliver height and interest.

We encourage you to share your progress in the Lessons in Gardening group, on our FREE app Iris. it could be a selection of plants that you plan to have in your garden, or it could be your the sketch of your garden layout. If you have a question why not ask the group what they would do? Our Plant Doctors are also on hand every day to impart their gardening advice and to answer your questions.

Share progress

Copyright © Crocus.co.uk Ltd 2024. All rights reserved.